Some Simple Christmas Cake Decorating Ideas

Don't be stuck for cake decorating inspiration this year, try some of my simple but classy cake ideas. Your cake can be a simple or as detailed as you wish but don't spend ages in the kitchen slaving over your masterpiece.
Ingredients
Baked Christmas Cake, I used Delia's Classic Christmas Cake
500g Golden Marzipan
500g Ready to roll icing
Edible glitter
Equipment
Cake board
Rolling pin
Sharp knife
Icing sugar
Boiled and cooled water
Pastry brush and a small clean cosmetic brush
Star or snowflake cutter
Ribbon
Method
I use Delia's Christmas cake recipe for all my celebration cakes, it was the first real Christmas cake I baked and it will forever more hold a special place in my heart. However I thought this year I would shake things up a little, I decided that I would use the recipe to make two 6 inch cakes instead of one large 8 inch cake. Here's how I did it.

Delia recommends that you allow the dried fruit to soak overnight in brandy but as I was planning to make six cakes in total I wanted to speed the whole process along. I gently heated the dried fruit and brandy together in a large saucepan over a very low heat for 4-5 minutes. The aroma that filled our kitchen while I warmed the fruit really lifted my heart, it really added to the festive spirit (pun intended)
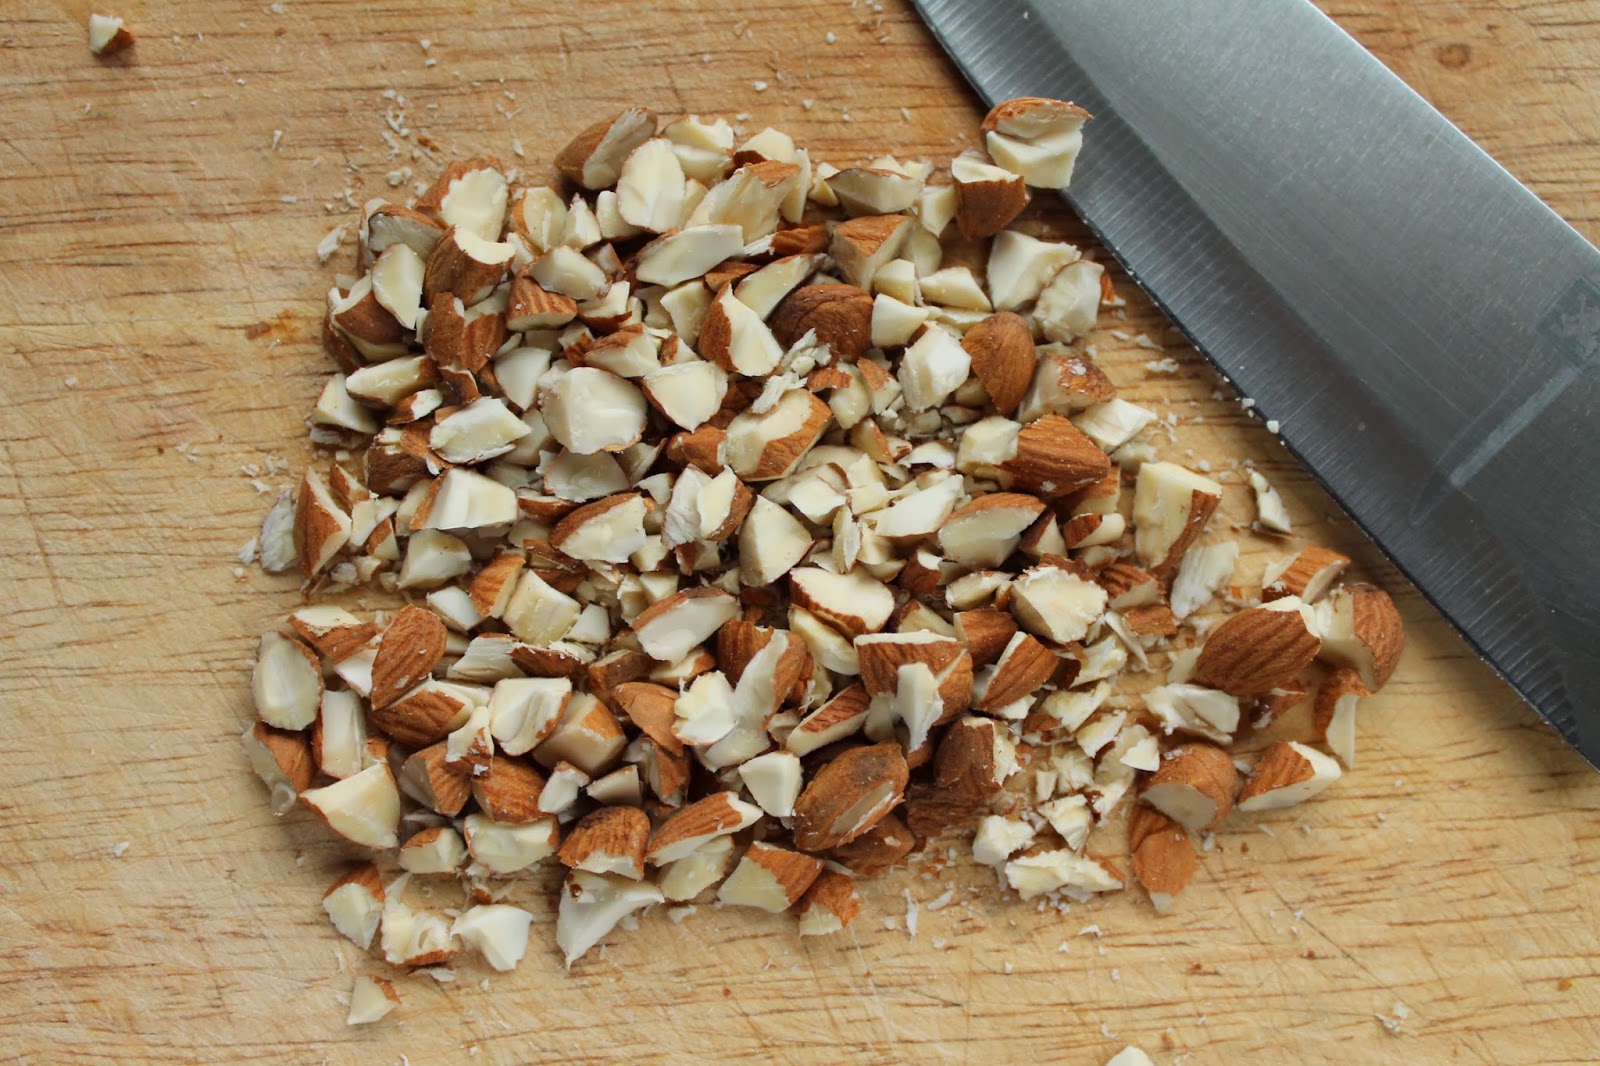
I bought almonds with the skin on and roughly chopped them, they add a lovely texture to the cake.

The dried fruit was completely cooled by the time it came to adding them to the cake mixture. When adding the eggs I suggest that you crack them first into a bowl, at least that way you know for sure that there will be no shell in the mix :)

Give everything one good final stir with your spatula, making sure to scrape down the side too.

I halved the mixture (roughly 900g ) and poured it into a prepared 6 inch baking tin. Create a slight dip in the centre with your spatula so the cake rises evenly while cooking.

Wrap the tin in baking paper or a newspaper, secure with a string and bake at 140°C/275ºF/Gas Mark 1 for roughly 2 hours. Test with a skewer to be absolutely sure it is baked.

Allow to cool in the tin, when the cake is at room temperature, remove from the tin and cool completely on a wire rack.

As I was making six cakes in total I wanted to be able to decorate each quickly and with the minimum of fuss. I decided to top each cake with a crown of golden marzipan and snowy white icing. The perfect send off for my mini Christmas gifts.
Each cake was turned upside down on and placed on a cake board, leaving the smooth underside upwards. I secured each cake onto the board with small amounts of marzipan, filling the gaps around the bottom edges.
(2.) Dust a clean work surface with icing sugar. Roll out the marzipan until it is 4 mm thick.
(3.) Holding a sharp knife vertically, cut out a circle (as it happens my saucer diameter is a spot on match for my cakes).
(4.) Brush the top of each cake with some boiled and cooled water.
(5.) Place the round of marzipan on the cake, smooth with a cake polisher or with any smooth surface. Brush the marzipan with boiled and cooled water.
(6.) Roll out the icing until it is 4 mm thick, cut out a round and lay it over the marzipan.
(7.) Smooth the top of the cake again.
(8.) Decorate with stars, holly leaves or snowflakes. Secure each decoration with a small amount of boiled and cooled water. I brushed the top of the snowflakes with some edible glitter, the glitter adherers to the cake much better when you brush the snowflake with a small amount of water first. Tie a length of ribbon around the base of the cake and you're finished!
Cake Gallery

Brushing edible glitter really lifts the detail on each of the snowflakes. This simple symmetrical design is timeless.


The silver glitter is a more subtle effect but just as classy.


Although this design may look a bit tricky, it is really very easy to achieve. Lay the snowflakes/stars out on your work surface, arrange them into the shape of a triangle, then transfer them one by one to the cake, securing them with a dab of water. The "baubles" are edible sugar decorations also secured with water. Fashion a trunk out of a small piece of ready to roll icing and secure into place. Lightly brush the tree with water and sprinkle or brush on the edible glitter.


My children wanted to personalise each of their gifts for their teachers. They decided that they wanted to use the heart shaped cutter (from the 2012 Issue 5 of Cake Decorating Magazine) and a embosser sheet to send this message to teacher :) I highlighted the details with gold glitter.

I hope that perhaps one of these cakes give you inspiration for your cake this year.
Comments
Post a Comment