Skip to main content
Search
Search This Blog
Good Food, Shared
Pages
Recipe Gallery
More…
Posts
Showing posts with the label
Quick and Easy
Show All
May 13, 2021
Coconut Broth & Spinach
January 13, 2021
Pea and Spinach Soup
December 13, 2017
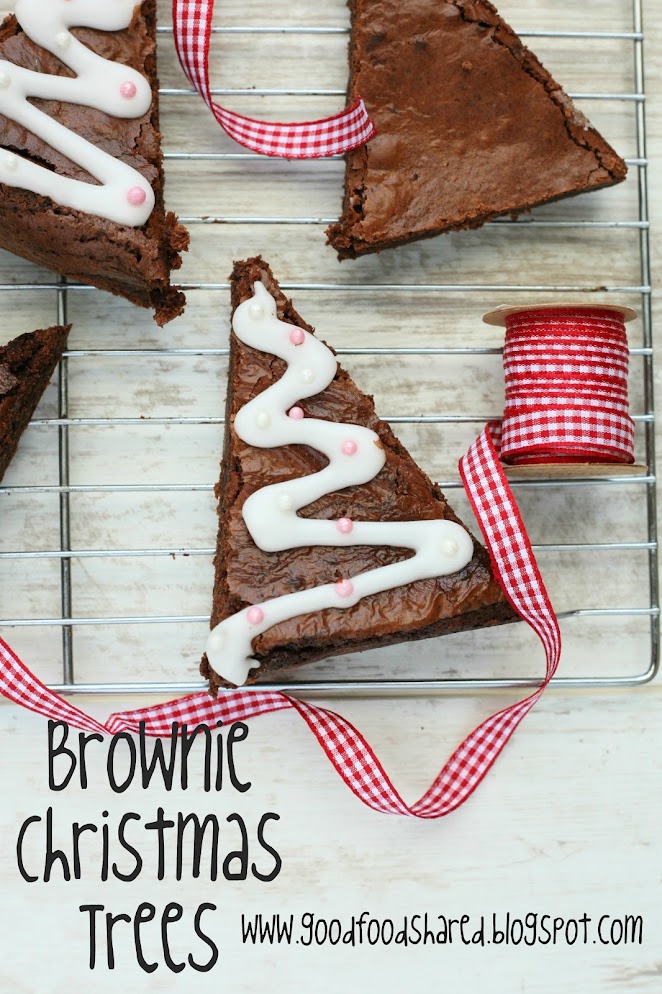
Christmas Tree Brownies
November 22, 2016
Delia's Creole Christmas Cake
April 16, 2014
No Bake Chocolate Nests
April 09, 2014
Spinach and Beetroot Smoothie
March 06, 2014
Porridge with Frozen Summer Berries
February 24, 2014
4 Ingredient Red Velvet Cookies
January 28, 2014
Slow Cooker Bread
August 15, 2013
No Bake Nutella Bites
June 05, 2013
Nigella's Spanish Chicken with Chorizo and Potatoes
October 07, 2011
Speedy Tomato Soup
August 15, 2011
Quick and Easy Pavlova
Older Posts
Home